Table of Contents
ToggleKey Takeaways
- Measure your roofline first — determine how much gutter material you need before starting.
- Install brackets securely — attach them evenly along the roofline using screws or nails for a strong foundation.
- Attach and level the gutters — connect each section carefully, ensuring they’re straight and properly aligned.
- Seal all joints — use rivets or sealant at section connections to prevent leaks.
- Add downspouts for drainage — position them to guide water away from your home’s foundation.
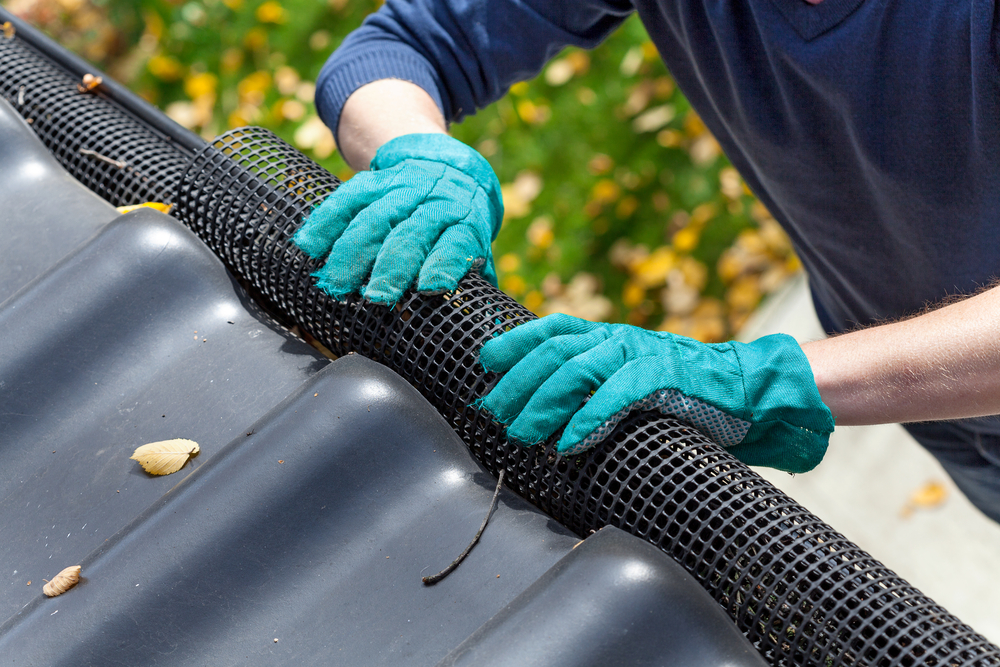
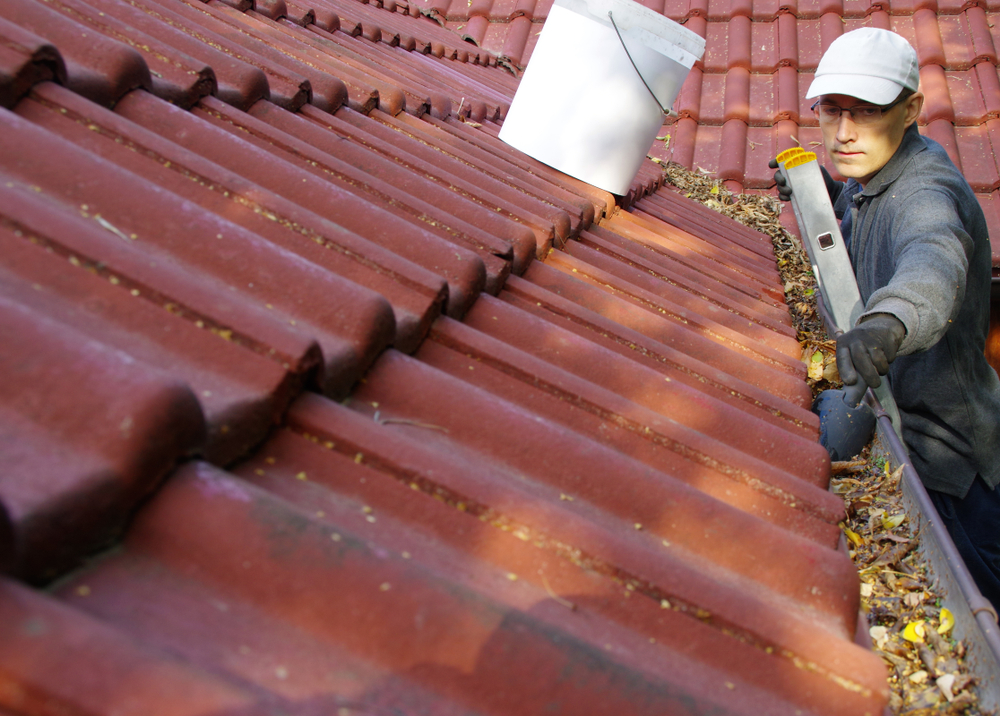
- Inspect and maintain — check regularly for rust, leaks, or damage to extend your gutter’s lifespan.
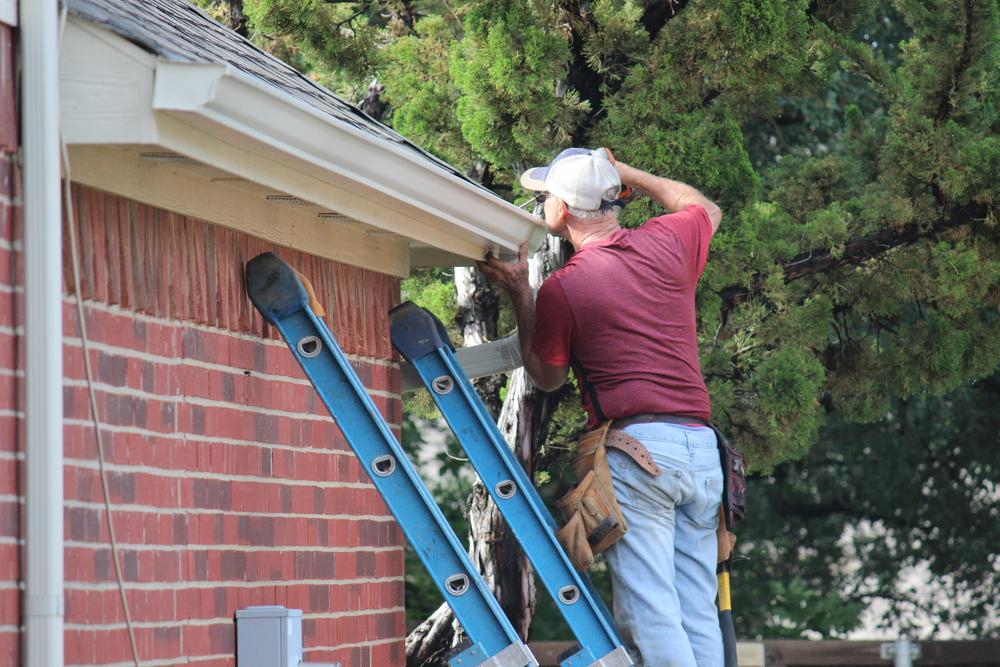
Professional gutter installation is an important part of maintaining the structural integrity of your home. When done correctly, it will provide long-lasting protection from water damage and leaks. The installation process for gutters can vary depending on the type of material you are using, but generally, these are the steps you should follow:
First, measure the length of your roofline where you plan to install the gutter. This will help you determine how much material you need to purchase for the job. Once you have gathered all your materials, and have marked out where the gutters will go on your roof, it’s time to start installing them. Begin by attaching brackets along the roofline and securing them with screws or nails into place. Then attach one end of the gutter onto these brackets and use a level to make sure they are installed straight and secure.
Once all brackets are in place, attach sections of gutter along them until all sections of seamless gutter systems are connected securely. It may be necessary to use a rivet gun or sealant on joints between sections to ensure that no leaks occur. To finish off, add any downspouts needed for proper drainage around your home and connect it to your existing drainage system or rain barrel if desired. Finally, check that everything is properly secured before adding additional caulk around any areas that may require extra protection from water leakage.
Now that all components have been installed correctly, inspect regularly for any signs of damage such as rusting or leaking gutters. Keeping up with regular maintenance can go a long way in protecting against further damage caused by storms or other inclement weather conditions. With proper installation and regular inspections, your new gutter system should offer reliable protection for many years ahead!
Frequently Asked Questions
- Why is gutter installation important?
Properly installed gutters protect your home from water damage by directing rainwater away from the roof and foundation. - How do I know how much gutter material to buy?
Measure the full length of your roofline where gutters will be installed to calculate how many sections you’ll need. - Do I need sealant between gutter sections?
Yes, sealing joints prevents leaks and helps your gutter system last longer. - Where should downspouts be placed?
Position downspouts at corners or low points along the gutter to ensure effective water flow and drainage. - How often should I inspect my gutters after installation?
Check them at least twice a year, especially after heavy storms, to catch any leaks or rust early.
A Top Rated Gutter Replacement & Installation Company.
Top Rated Gutters® is your go-to source for all gutter-related needs. Top Rated Gutters has been providing professional gutter installation services to the local area for years.
Meet The TeamRelated Blogs

Written by
Anthony Kulikowski
Owner · South Bend, IN
Owner of Top Rated Gutters of South Bend, with 25+ years serving Indiana homeowners.